
- English
- Español
- Português
- русский
- Français
- 日本語
- Deutsch
- tiếng Việt
- Italiano
- Nederlands
- ภาษาไทย
- Polski
- 한국어
- Svenska
- magyar
- Malay
- বাংলা ভাষার
- Dansk
- Suomi
- हिन्दी
- Pilipino
- Türkçe
- Gaeilge
- العربية
- Indonesia
- Norsk
- تمل
- český
- ελληνικά
- український
- Javanese
- فارسی
- தமிழ்
- తెలుగు
- नेपाली
- Burmese
- български
- ລາວ
- Latine
- Қазақша
- Euskal
- Azərbaycan
- Slovenský jazyk
- Македонски
- Lietuvos
- Eesti Keel
- Română
- Slovenski
- मराठी
- Srpski језик

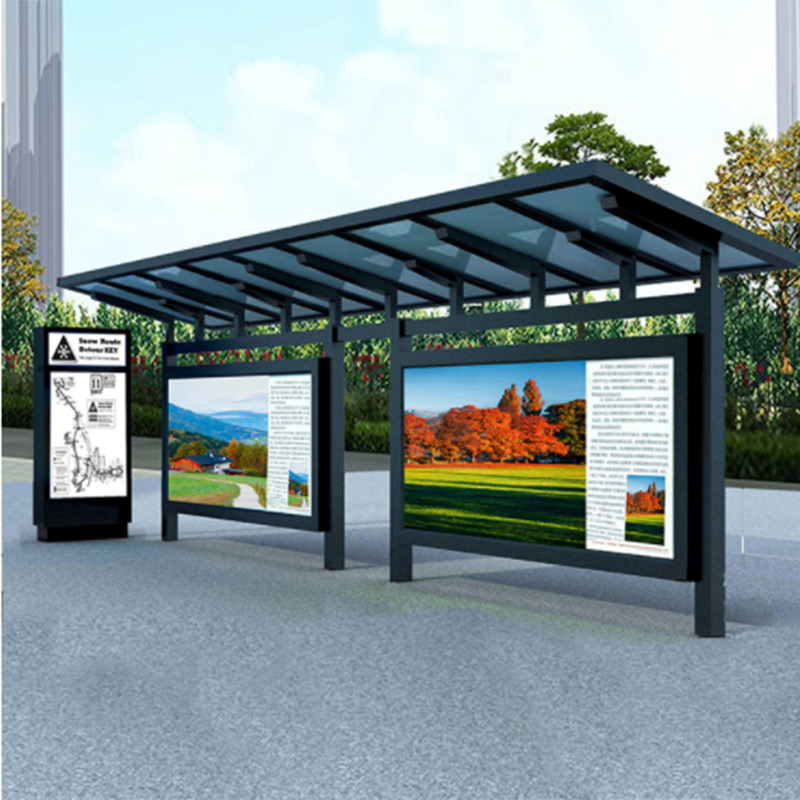
Installation steps of the bus shelter
2022-12-03
Explain to you the specific steps of the installation of the bus shelter.
Step 1: Remove the protective cover on the embedded part and clean the polluted bolts
Step 2: screw the m18 nut and washer into the bottom of the screw (reserve the level of the post to be adjusted later)
Step 3: Pre-embed the column with the corresponding number according to the drawing (you need to check the front and back of the column before placing the column. Usually, the roof of the platform has elevation screws and the front opening of the column is about one centimeter higher than the rear opening) into the Pre-buried and screwed on (do not overtighten)
Step 4: Install the light box Install the light box with time control and leakage protection between the columns of the power inlet One side of the system is mounted on the front) Locking screw
Step 5: Install the ceiling. The span of the ceiling is relatively large and it is easy to distort and deform when it is not connected with the column. Therefore, when hoisting, it is necessary to divide the left, right and middle fixed points to fix the ceiling. While hoisting, the operator should observe the surrounding environment to ensure safe hoisting. When the ceiling and the column are docked, it must be lightly dropped to avoid deformation of the ceiling (when the column and the ceiling cannot be smoothly connected with the column, check whether the column is at the same level, and loosen the light box screws to adjust the position of the column. The middle of the weak column and the ceiling is not completely closed Adjustment screw under the column anchor plate can be adjusted)
Step 6: After the ceiling is hoisted, the platform needs to be fine-tuned to ensure that each column is on a horizontal line. Tighten the anchor plate screws and spray the bolts with anti-rust paint.
Step 7: Turn on the light box and introduce power from the foot of the light box with time-controlled leakage protection, and connect each light box in parallel to the circuit for debugging. After debugging, close the light box and lock it to prevent safety accidents and dust.
Step 8: The ceiling needs to be waterproofed. The top waterproof of the ceiling may crack during transportation or hoisting. Therefore, it is necessary to check the waterproof condition of the ceiling after installation and apply weather-resistant structural adhesive on the cracked places.
After the installation of the bus shelter is completed, remove the construction waste generated during the construction. Carry out safety and stability, put into use, component integrity checks, and carry out debugging, and can only be accepted and put into use after reaching the usable standard.
Previous:Considerations of tool boxes